מדריך בלוקי תוכן
הוספת תמונות ל-Lumo שלך
ויזואליות חזקה ביותר! הוספת תמונות ל-Lumo שלכם יכולה לשפר באופן דרמטי את המשיכה, להבהיר מידע, ולחזק את נוכחות המותג. בין אם זה לוגו החברה, הצגת מוצר, או גרפיקה ממחישה, בלוק Image ב-LumoPages הופך את שילוב ויזואליות מרתקות בטפסים הדיגיטליים לפשוט.
מדריך זה יראה לכם כיצד להוסיף ולהגדיר בלוקי תמונה.
מהו בלוק Image?
בלוק Image הוא בלוק תוכן שתוכנן במיוחד להצגת תמונות סטטיות בשלבי ה-Lumo שלכם. הוא מאפשר לכם להעלות תמונות ישירות או לקשר לתמונות המתארחות באינטרנט, ואז להתאים אישית את המראה שלהן בתוך הטופס.
שלב אחר שלב: הוספת בלוק Image
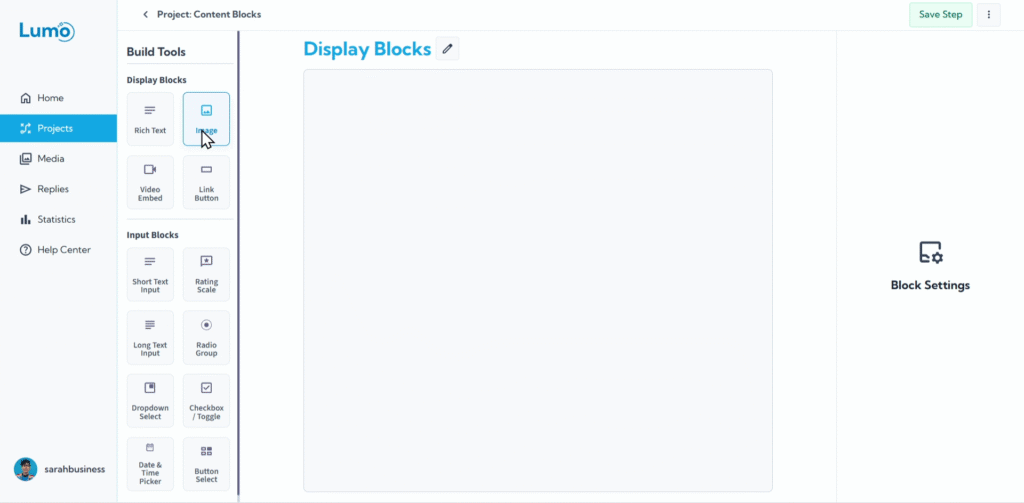
- היכנסו לעורך השלב: נווטו לשלב הספציפי שבו אתם רוצים להוסיף תמונה.
- הוסיפו בלוק "Image": גררו את בלוק "Image" מהלוח שמופיע, ובחרו את סוג בלוק "Image" תחת "Content Blocks".
בחרו את מקור התמונה: לאחר שבלוק Image מופיע בשלב, תתבקשו לבחור כיצד להוסיף את התמונה:
Upload from Device: זו השיטה הנפוצה ביותר, ומאפשרת להעלות קובץ תמונה ישירות מהמחשב או מהמכשיר הנייד.
- לחצו על "Upload Image" או כפתור דומה.
- עיינו בקבצי המכשיר ובחרו את התמונה שאתם רוצים.
- התמונה תועלה ל-Media Library של LumoPages ותוצב בבלוק.
הגדרת בלוק ה-Image שלכם
לאחר הוספת התמונה, תוכלו להתאים אישית את המראה ולהוסיף טקסט תיאורי באמצעות הגדרות הבלוק:
Image Description (Caption): אתם יכולים להוסיף טקסט שמופיע ישירות מתחת לתמונה. זה שימושי לכיתובים, קרדיטים, או הסברים קצרים.
- אתרו את שדה "Image Description" או "Caption" בהגדרות הבלוק.
Custom Size (Width/Height): שלטו בממדי התמונה כדי להתאים לעיצוב ה-Lumo שלכם.
חלק מהאפשרויות עשויות לכלול:
- Auto: התמונה מתאימה למרחב הזמין.
- Custom: מאפשר להזין ערכי פיקסלים או אחוזים ספציפיים לרוחב.
Alignment (if available): חלק מבלוקי התמונה עשויים להציע אפשרויות ליישר את התמונה (למשל left, center, right) בתוך המיכל שלה בשלב.
שמירת השינויים
זכרו לשמור את השינויים באופן ידני לאחר הוספה או שינוי בלוקי תמונה. אתרו את כפתור "Save" בעורך ולחצו עליו כדי להבטיח שהתמונות מאובטחות ומיושמות ב-Lumo שלכם.
אם תנסו לנווט מחוץ לעורך לאחר ביצוע שינויים בלי לשמור, LumoPages יזכיר לכם לשמור את העבודה. זה קריטי להגנה על העיצוב, במיוחד אם ה-Lumo שלכם פעיל כרגע למשתמשים.
הוספת תמונות משכנעות יכולה לשפר משמעותית את המשיכה החזותית והבהירות של ה-Lumo שלכם. נסו מיקומים וגדלים שונים כדי למצוא מה עובד הכי טוב לתוכן שלכם. בהמשך, נחקור כיצד להטמיע סרטונים ל-Lumos שלכם.