בניית ה-Lumo שלך
יצירת הפרויקט הראשון שלך
עכשיו, לאחר שהגדרתם בהצלחה את חשבון LumoPages וסקרתם את לוח הבקרה, הגיע הזמן לחלק המרגש: ליצור את ה-Lumo הראשון שלכם! "Project" ב-LumoPages הוא בעצם הטופס הדיגיטלי המלא שלכם, Lumo שיכול להכיל מספר שלבים (stages) ואלמנטים שונים (blocks).
במדריך זה, נלווה אתכם בשלבים הפשוטים ליצירת פרויקט חדש.
מדריך שלב אחר שלב ליצירת פרויקט חדש
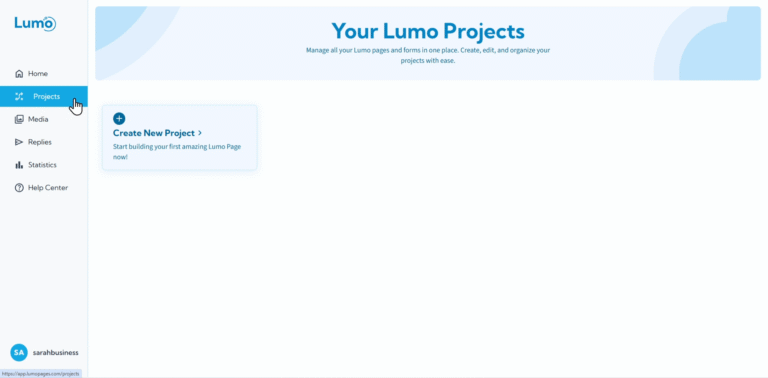
- נווטו לדף "Projects": מלוח הבקרה של LumoPages, אתרו ולחצו על "Projects" בתפריט הניווט הראשי. דף זה הוא המרכז שלכם לניהול כל ה-Lumos הקיימים ויצירת חדשים.
- התחילו יצירת פרויקט חדש: בדף "Projects", תמצאו כפתור בולט, בדרך כלל עם התווית "Create New Project" או דומה. לחצו על כפתור זה כדי להתחיל בתהליך בניית Lumo חדש.
- תנו שם לפרויקט: חלון קופץ או מסך חדש יופיע, ויבקש מכם לתת לפרויקט החדש שם. בחרו שם ברור ותיאורי שעוזר לכם לזהות את מטרת ה-Lumo.
אשרו יצירת פרויקט: לאחר הזנת השם, לחצו על "Create Project" או "Continue".
- LumoPages תיצור את הפרויקט, ותיתן לכם קנבס ריק להתחיל לבנות.
- תועברו אוטומטית לעורך הפרויקט, מוכנים להוסיף את ה-stage הראשון וה-blocks.
אל תדאגו יותר מדי לשם המושלם כרגע. תמיד תוכלו לערוך את שם הפרויקט מאוחר יותר בהגדרות הפרויקט אם צריך.
מה קורה בהמשך?
ברגע שהפרויקט נוצר, LumoPages מעבירה אתכם בצורה חלקה לעורך הפרויקט. כאן קורה הקסם האמיתי! תמצאו את עצמכם מוכנים להוסיף את ה-"stage" הראשון ל-Lumo, כמו הוספת הדף הראשון לטופס הדיגיטלי.
בחלקים הבאים, נצלול מיד להוספה ובנייה של ה-stage הראשון ומילויו ב-content blocks, בעקבות זרימת העבודה הפשוטה של "צור שלב, הוסף תוכן, שמור, שלב הבא".
יצרתם בהצלחה את פרויקט LumoPages הראשון שלכם! עכשיו, בואו נתחיל למלא אותו בתוכן.