בניית ה-Lumo שלך
הוספה וניהול שלבים
Stages הם עמוד השדרה של ה-Lumo שלכם, ומאפשרים לכם לפרק את הטופס הדיגיטלי לשלבים לוגיים וניתנים לניהול או "דפים". גישה זו משפרת משמעותית את חוויית המשתמש, במיוחד בטפסים ארוכים, על ידי מניעת עומס מידע והנחיית משתמשים בצורה חלקה בתהליך ההגשה.
במדריך זה, נעמיק כיצד להוסיף stages חדשים, לנהל את מאפייניהם ולהבין את הסטטוס שלהם.
גישה לניהול Stages
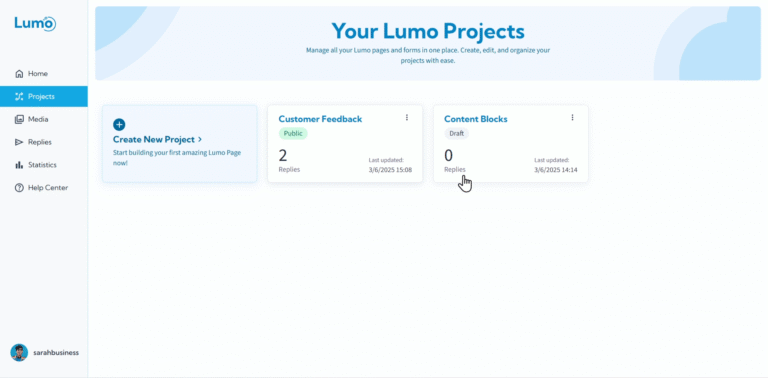
- כניסה לעורך הפרויקט: מלוח הבקרה של LumoPages או מדף "Projects", לחצו על הפרויקט שברצונכם לערוך. פעולה זו תעביר אתכם לעורך הפרויקט הראשי.
- איתור אזור ניהול Stages: בצד שמאל (או לפעמים בחלק העליון) של העורך, תראו אזור ייעודי לניהול ה-stages שלכם. כאן תוכלו לצפות, להוסיף ולארגן את כל ה-stages בתוך ה-Lumo הנוכחי.
הוספת Stage חדש
בעת בניית ה-Lumo שלכם, תוסיפו לעיתים קרובות stages חדשים כדי להרחיב את התוכן.
- לחצו על "Add New Stage": באזור ניהול ה-stages, תמצאו כפתור עם התווית "Add New Stage" או אייקון דומה (לעיתים קרובות סימן פלוס). לחצו עליו כדי ליצור stage חדש וריק.
תנו שם ל-Stage: לאחר ההוספה, ה-stage החדש יופיע. תרצו לתת לו שם תיאורי.
- לחצו על ה-stage החדש כדי לבחור בו, ולאחר מכן אתרו את האפשרות "Edit Stage Name" (לעיתים קרובות אייקון עיפרון ליד שם ה-stage או בפאנל הגדרות ייעודי ל-stage).
- הערה: שם ה-stage עוזר לכם לארגן את הפרויקט פנימית.
ניהול Stages קיימים
ברגע שיש לכם מספר stages, LumoPages מספקת כלים לניהולם ביעילות.
א. שכפול Stage
שכפול stage שימושי במיוחד אם אתם צריכים ליצור stage חדש עם פריסה או קבוצת blocks דומה לקיים.
- בחרו את ה-Stage: באזור ניהול ה-stages, לחצו על ה-stage שברצונכם לשכפל.
- לחצו על "Duplicate Stage": חפשו אייקון "Duplicate" או "Copy" (לעיתים קרובות שני ריבועים חופפים). לחצו עליו.
- עותק חדש מופיע: עותק של ה-stage שנבחר, כולל כל ה-blocks שלו, יתווסף לפרויקט. לאחר מכן תוכלו לשנות את שמו ולערוך את התוכן.
ב. מחיקת Stage
אם stage כבר לא נדרש, תוכלו להסיר אותו בקלות מהפרויקט.
- בחרו את ה-Stage: באזור ניהול ה-stages, לחצו על ה-stage שברצונכם למחוק.
- לחצו על "Delete Stage": חפשו אייקון "Delete" או "Trash Can". לחצו עליו.
- אשרו מחיקה: בדרך כלל תתבקשו לאשר, שכן פעולה זו לעיתים קרובות בלתי הפיכה.
מחיקת stage היא פעולה בלתי הפיכה ותסיר את כל ה-blocks והתוכן בתוך stage זה. ודאו שאתם באמת רוצים למחוק לפני האישור.
ג. סידור מחדש של Stages (מגבלה נוכחית)
הערה חשובה: כרגע, LumoPages אינה תומכת בשינוי סדר ה-stages לאחר יצירתם. ה-stages יופיעו בסדר שבו נוספו לפרויקט.
תכננו את זרימת הטופס בקפידה לפני הוספת stages רבים. אם הסדר קריטי, שקלו להוסיף stages בסדר הסופי הרצוי.
הבנת סטטוס Stage: Hidden (Draft) לעומת Published
לכל stage יש סטטוס שקובע האם הוא גלוי ופעיל ב-Lumo המפורסם שלכם.
סטטוס Hidden (Draft):
- מצב ברירת מחדל: כשאתם יוצרים stage חדש, הוא מוגדר אוטומטית לסטטוס "Hidden" (או "Draft"). משמעות הדבר שהוא לא גלוי למשתמשים כשה-Lumo מפורסם.
- מטרה: זה מאפשר לכם לעבוד על stages באופן פרטי מבלי להשפיע על ה-Lumo החי. תוכלו לבנות, לערוך ולשפר stage עד שהוא מוכן.
סטטוס Published:
- הפיכת Stage לחי: ברגע ש-stage הושלם ומוכן למשתמשים, עליכם "Publish" אותו.
- כיצד לפרסם: בהגדרות או באפשרויות ה-stage, חפשו מתג או כפתור "Publish Stage" או "Make Visible".
- דרישה: stage יכול להיות מפורסם גם אם הוא ריק, או מכיל רק content blocks. עם זאת, כדי לפרסם את כל הפרויקט כציבורי, הוא חייב להכיל לפחות stage גלוי אחד עם לפחות field block אחד שמשתמשים יכולים למלא.
חזרה ל-Draft:
- תמיד תוכלו לשנות stage מפורסם חזרה לסטטוס "Hidden" (Draft).
- זה שימושי אם אתם צריכים לבצע עריכות נרחבות או להסיר זמנית קטע מה-Lumo החי.
- פשוט כבו את אפשרות "Publish Stage".
על ידי הוספה, ניהול ושליטה יעילים בסטטוס ה-stages שלכם, תוכלו ליצור Lumos מובנים, מקצועיים וידידותיים למשתמש שאוספים מידע ביעילות. עכשיו, כשאתם יודעים כיצד לנהל את ה-stages, נסתכל מקרוב על רכיבי הבניין הבודדים בתוכם.